How do I change the start & end times of my ticket sales?
A six-step guide to show you how to determine and change when your ticket sales will begin and end.
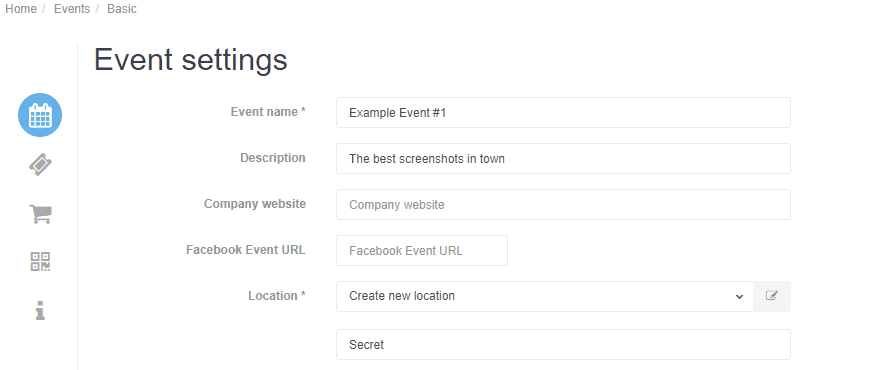
1. Go to your ‘Dashboard’ and select ‘Events’ from the drop-down menu.
2. You’ll see a list of all your events. All you have to do now is select the event you’d like to change the tickets sales time parameters for. You can do this by clicking on the blue ‘Edit event’ button beside the specific event.
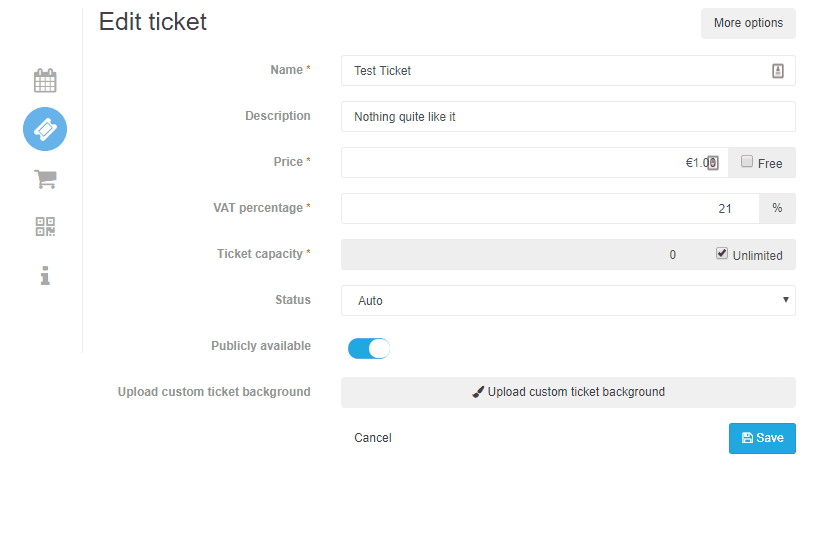
3. On the left of your screen, you’ll see five icons, one of which is a ticket (second from above). By clicking on this icon you’ll be redirected to a page where you can find an overview of your tickets.
4. On this page, you can edit an existing ticket by clicking ‘Edit’ beside the ticket’s name - or you can create new tickets by clicking on ‘New ticket’ in the top-right corner.
5. While editing an existing ticket - or creating a new one - you can edit when ticket sales begin and end by clicking on ‘More options’ and toggling the ‘Available from’ function on.
6. By toggling the ‘Available from’ function on, you’ll actually unlock two new fields: ‘Available from’ and ‘Available until’. All you need to do is fill in your desired dates and times in the applicable field. Don’t forget to save your settings!
Thanks for reading, if you have feedback or questions about these guides, please contact us at info@eventix.io.